Use Jetting fiber blowing machines for your installation. We have a variety of machines suitable for different types of projects, ranging from lightweight machines designed for FTTH (fiber to the home) installation, to strong machines for distribution network installation.
1. Planning and Preparation
Preparation is key when it comes to fiber installation. Good preparation allows for smoother, more efficient installation. Fiber cable can be installed in all types of weather with our machines.
Check the conduit path you are going to blow.
Measure the distance to be installed.
Get a map or drive the route if possible.
Ensure you can open the conduit if there’s a blockage.
Choose the right type of cable to be installed.
2. Work Safety
Before installation, make sure all unauthorized individuals are off the installation site. Confirm that there is no one in the manhole at the other end where the fiber cable will emerge. In addition to this, you will need the following:
Ear protection
No loose clothing
Hair protection
A flat surface to set up your workbenchw
3. Correct machine for cable and DUCT
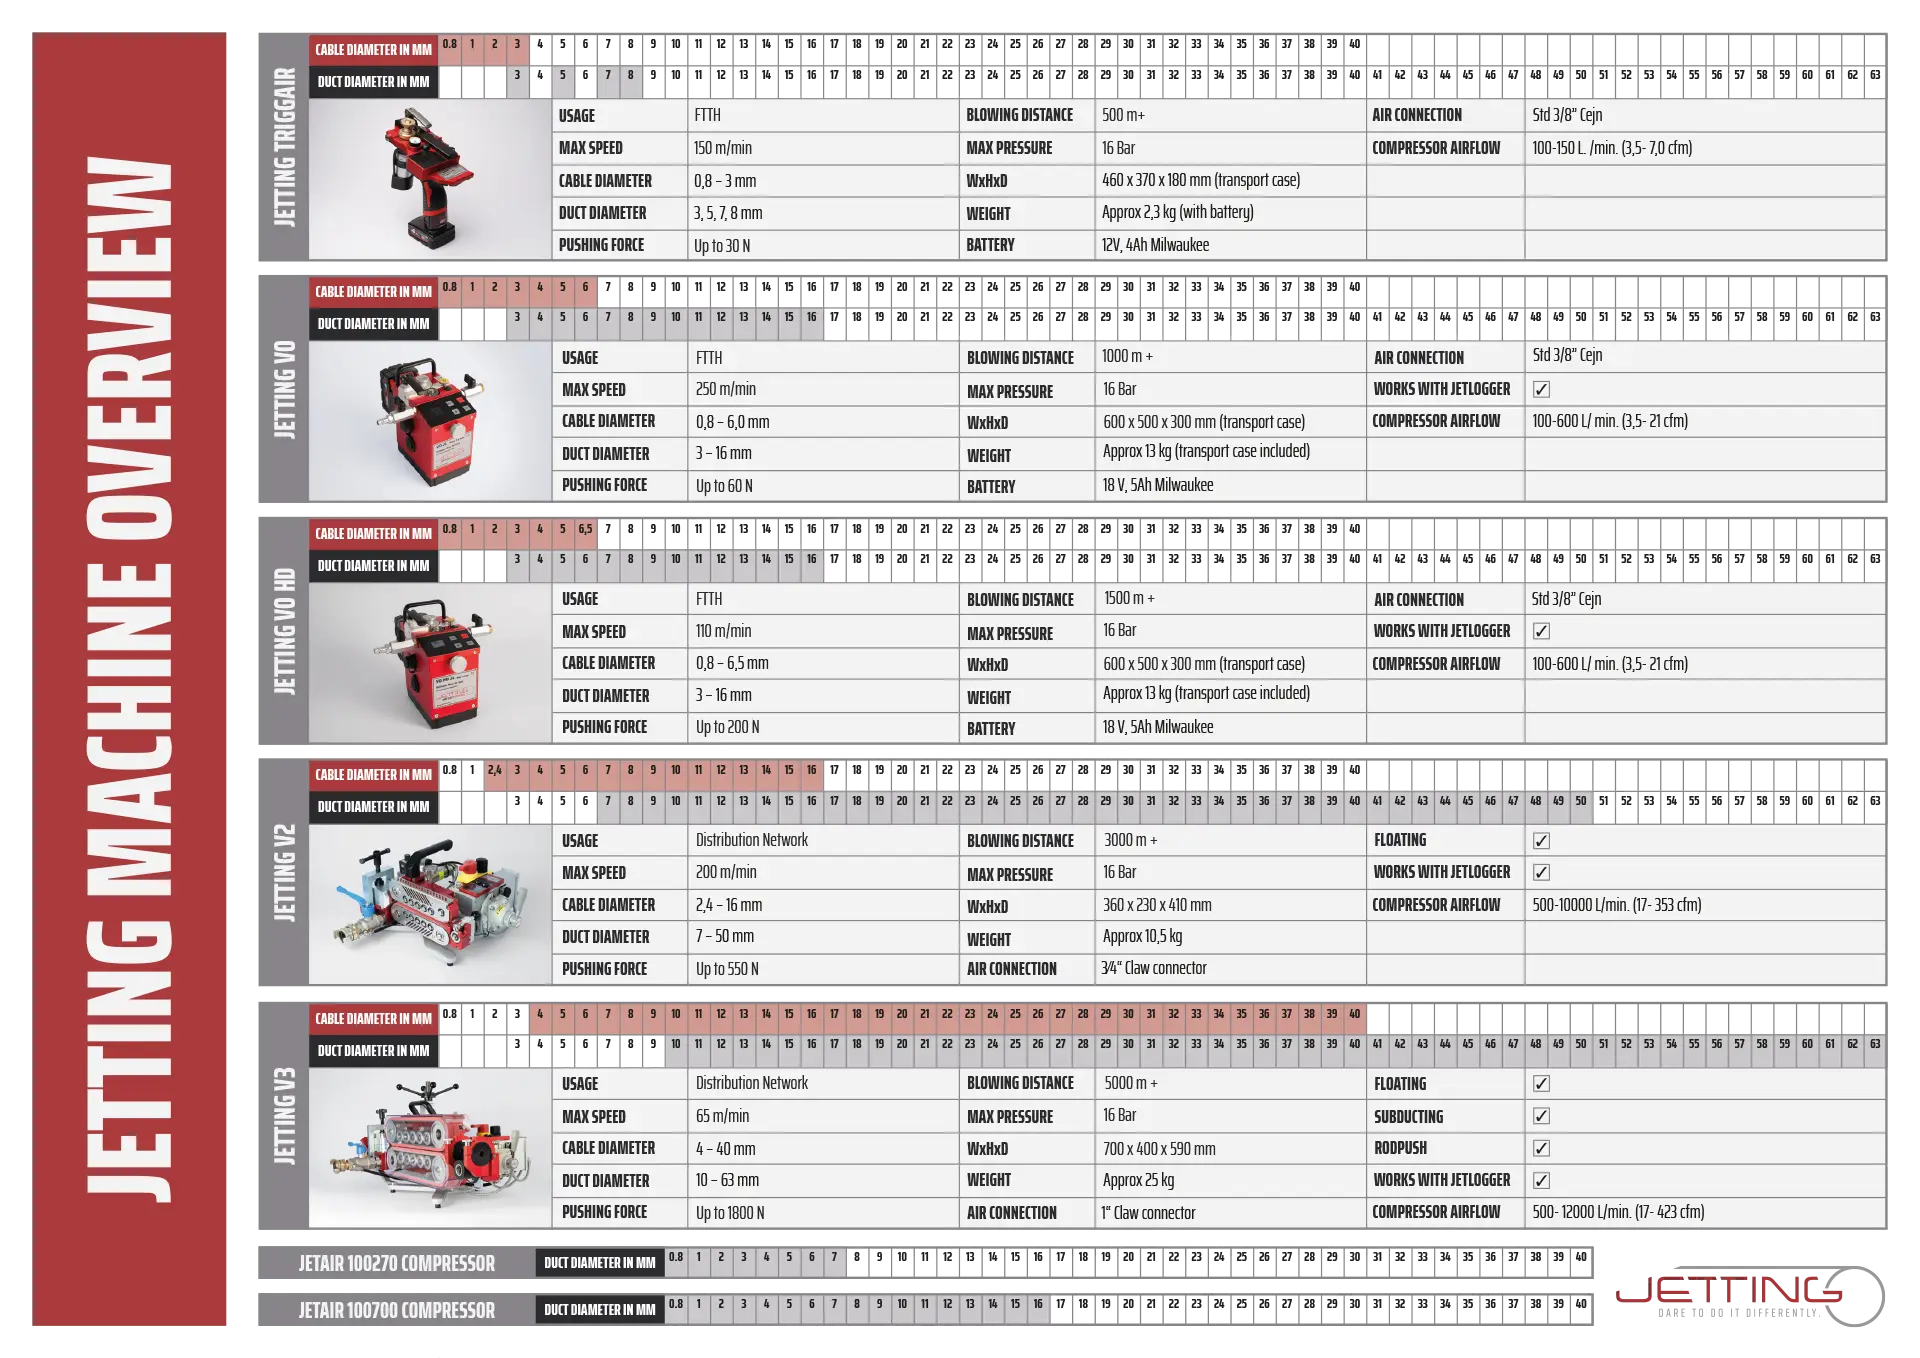
For a successful fiber installation, the right machine for the job is required. Jetting has a number of machines optimized for certain types of cables and conduits/microducts.
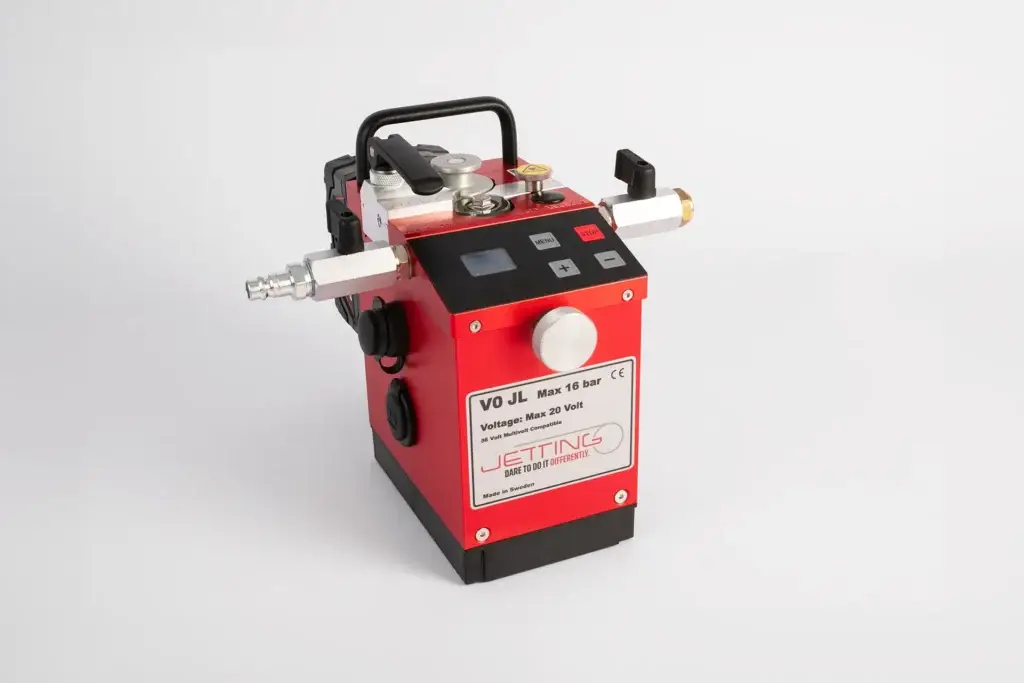
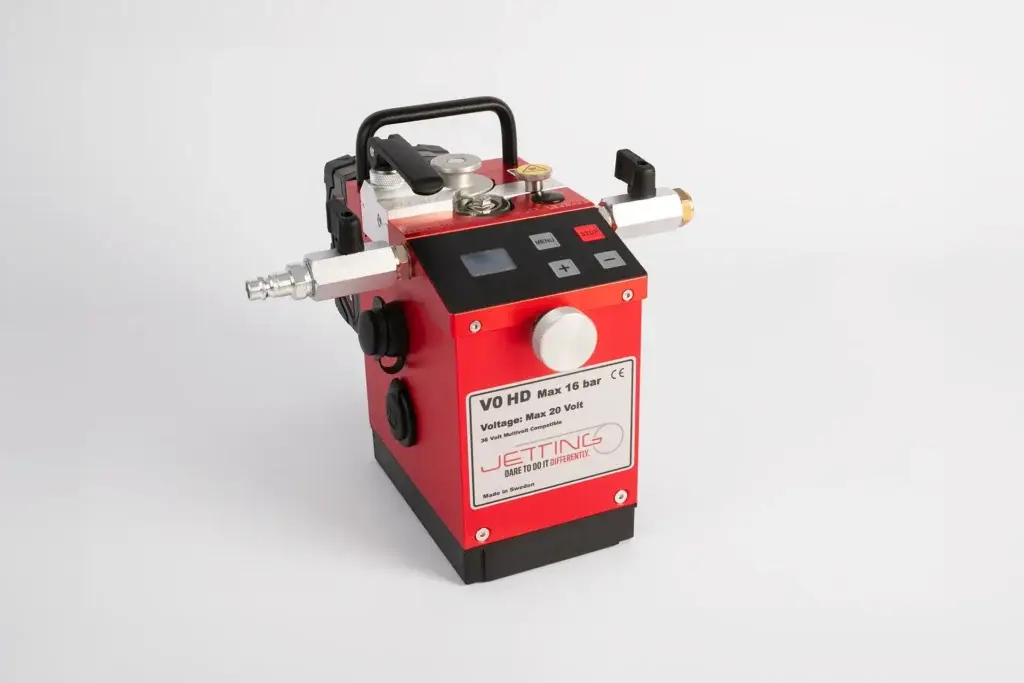
Jetting machines for Microduct
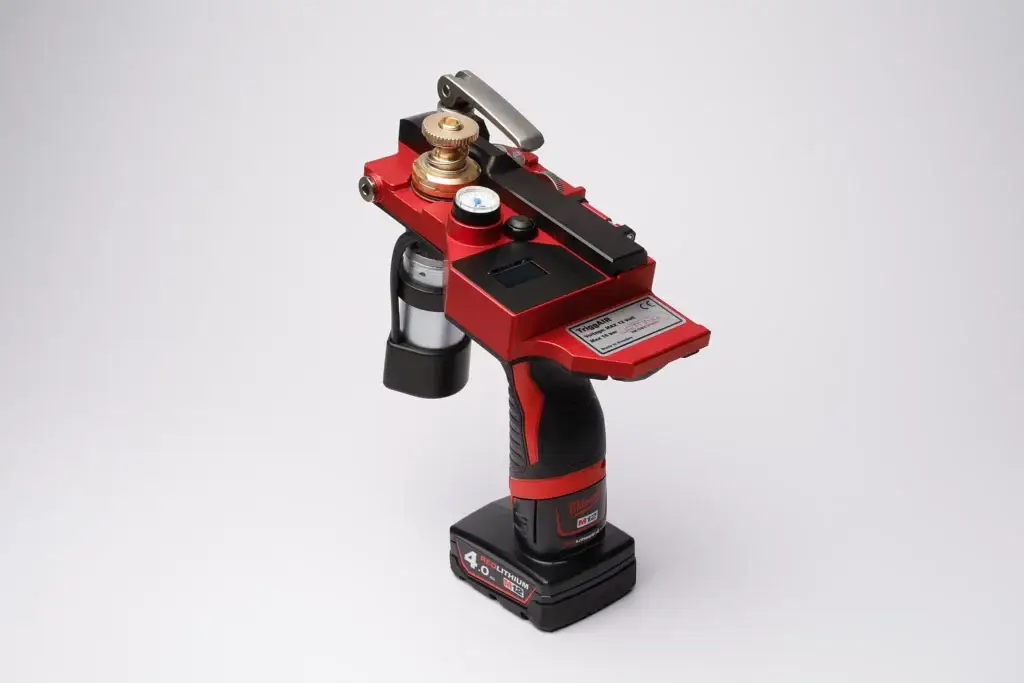
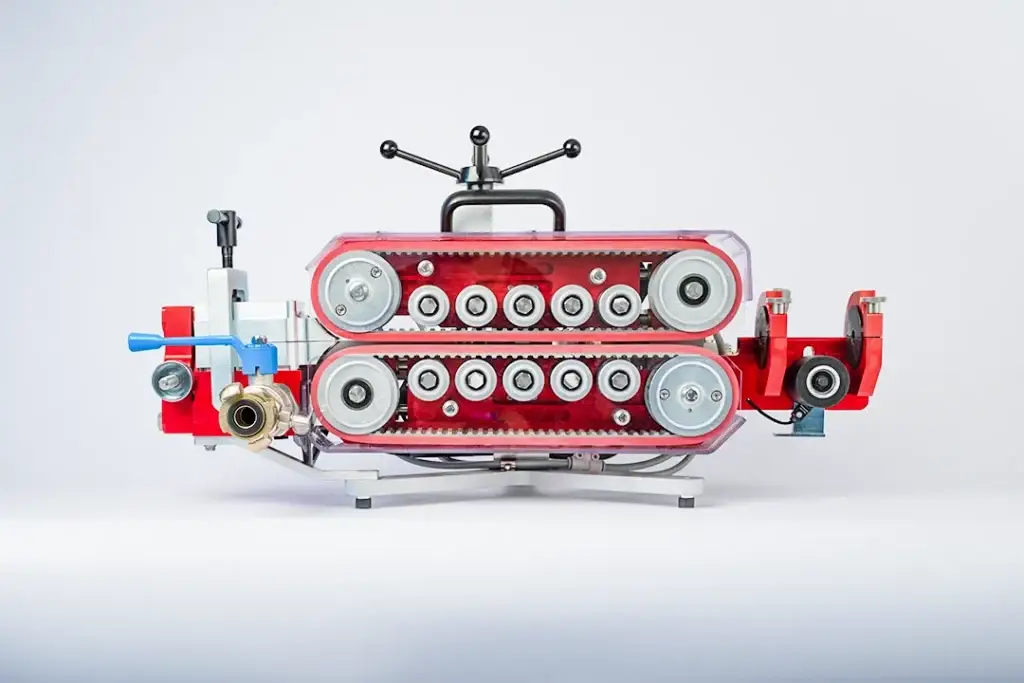
TRIGGAIR FIBER BLOWING MACHINE
Cable diameters: 0.8 – 3 mm (0.032” – 0.12”) Microduct diameters: 3, 5, 7, 8 mm (0.12”, 0.20”, 0.28”, 0.31”)
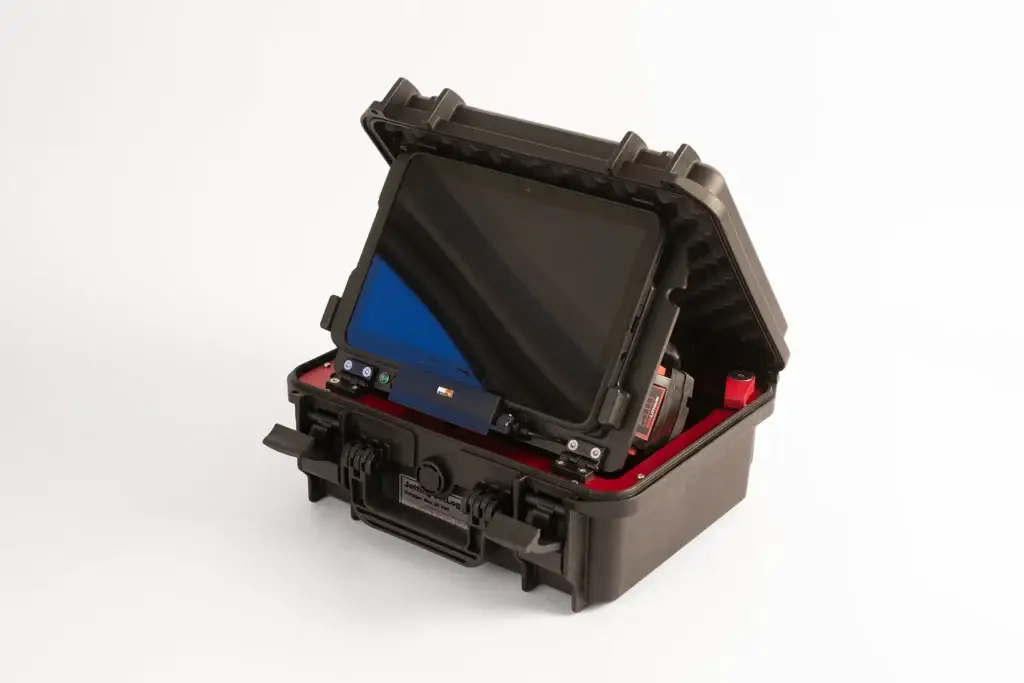
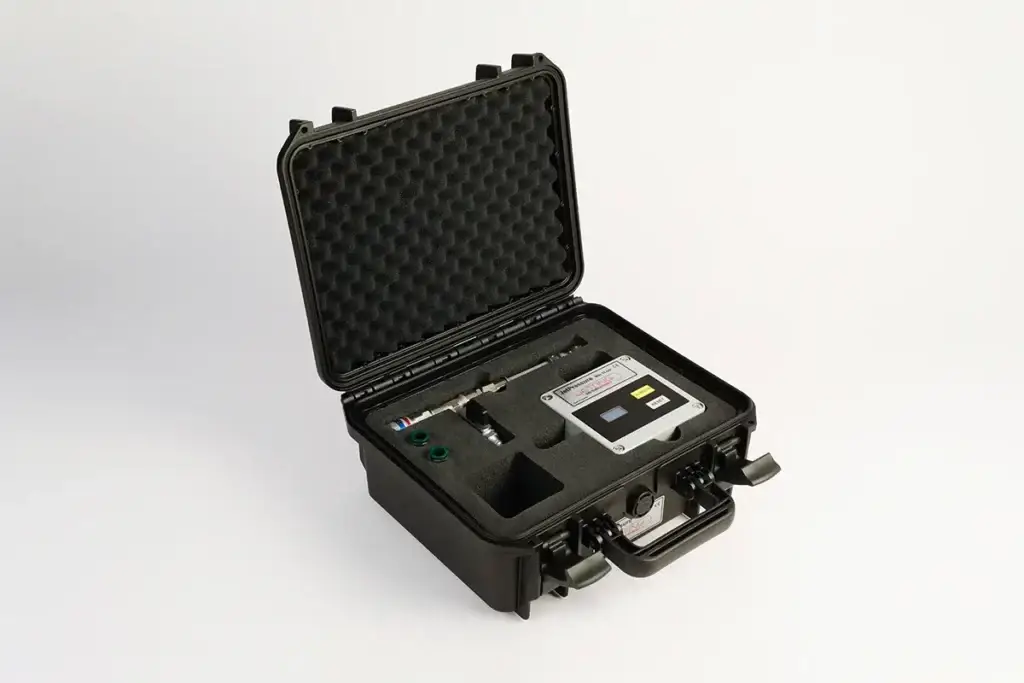
JetPressure provides a tailored solution for professional installers, offering comprehensive electronic pipe documentation. This advanced device seamlessly integrates with the Jetting JetLogger
Drum rack for fiber cable drums. Easy assembly and disassembly, few parts. Improves ergonomics by allowing the drum rack to be turned 180°; this way, you can pull or push the drum in front of you.
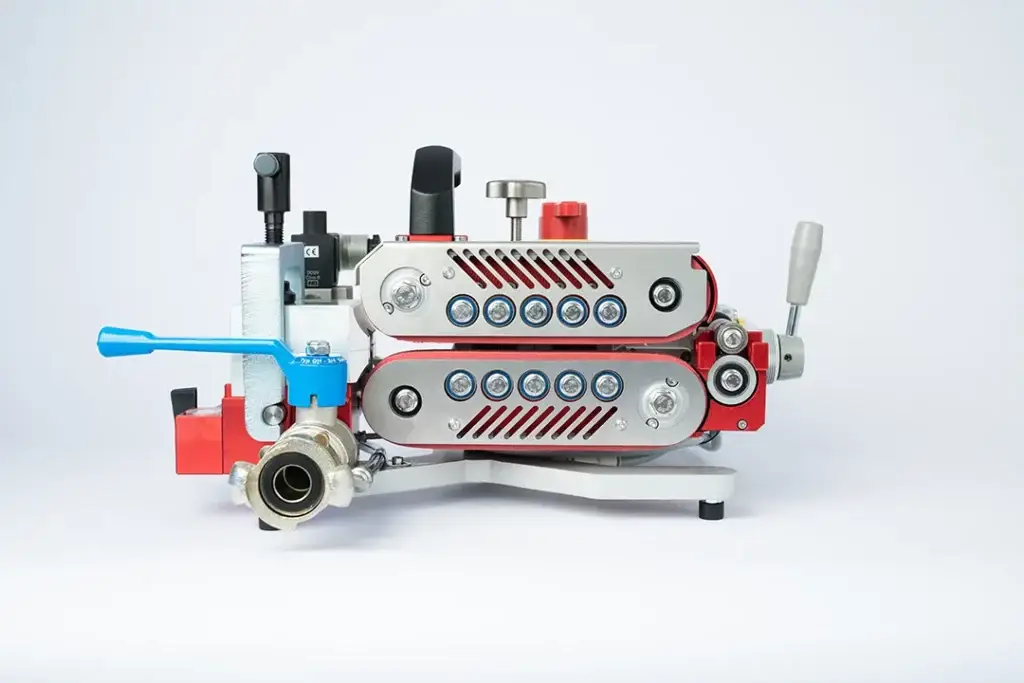
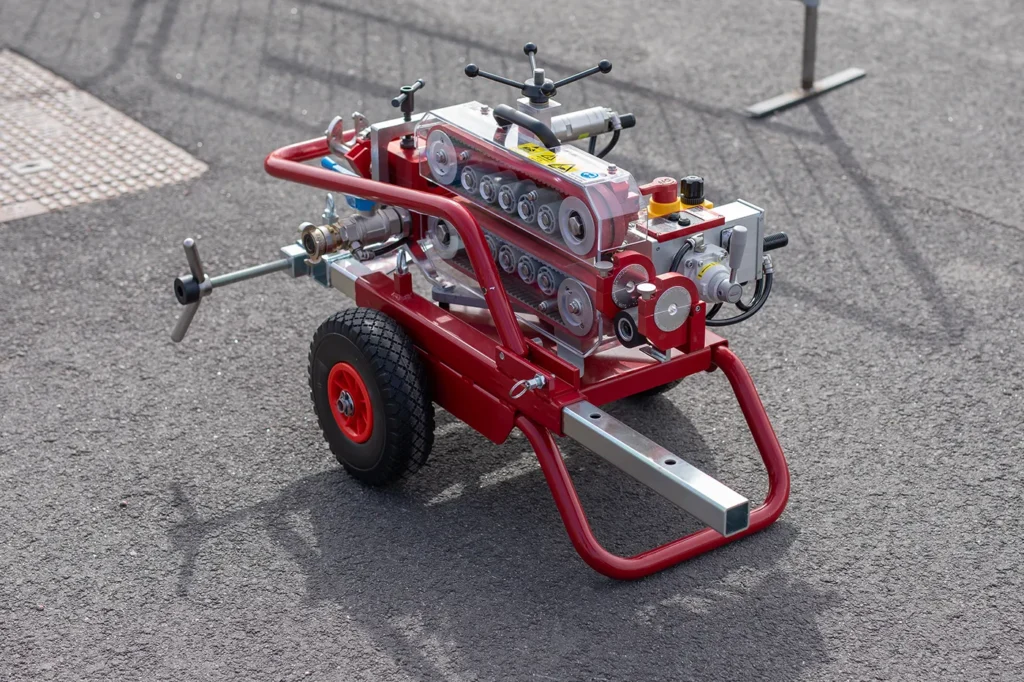
Jetting Cart fit the V3 and besides fiber blowing and subducting the V3 combined with the Jetting Cart will allow you to push or pull a duct rod through ducts.
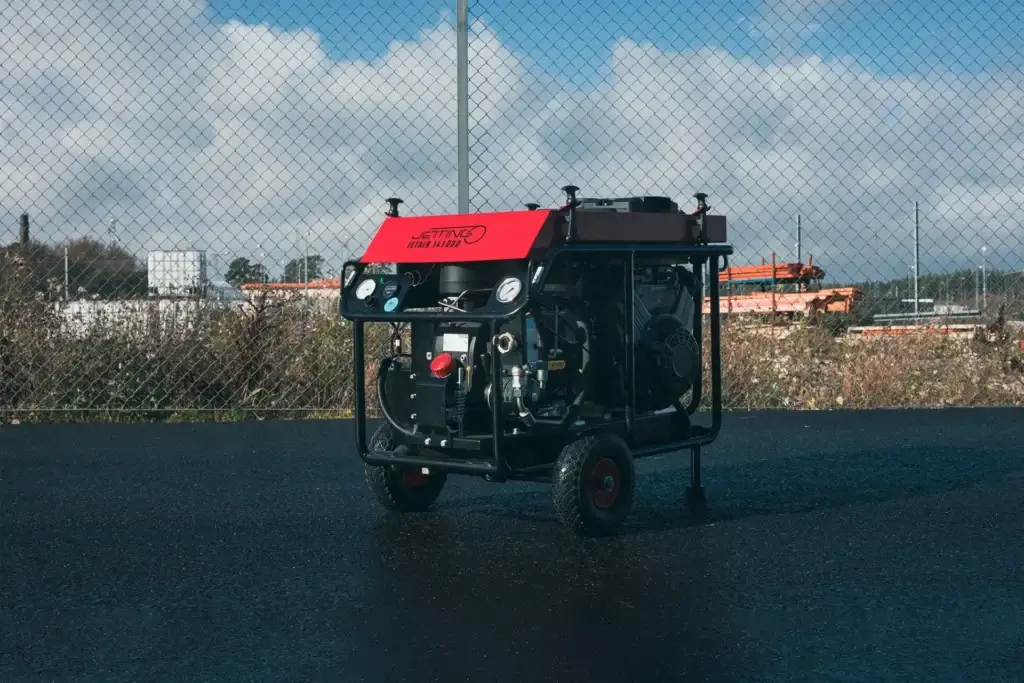
Compact and effective screw-type compressor with aftercooler, optimized for professional fiber blowing. The Jetair 141000 is powered with a 2-cylinder, 23 Hp petrol engine with electric start.
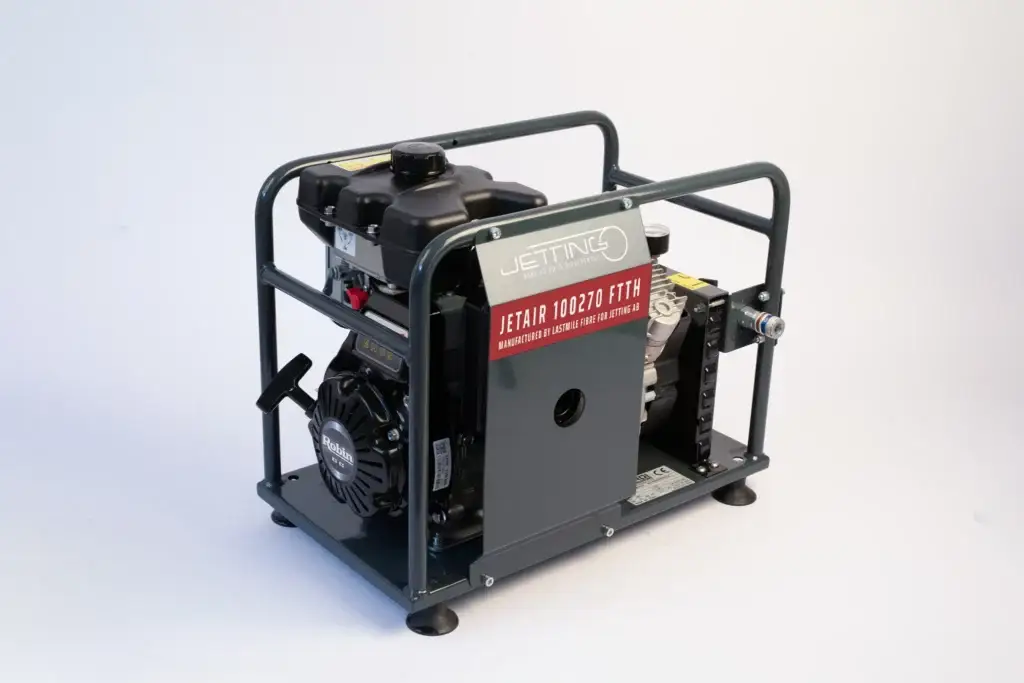
Compact petrol compressor makes FTTH installation easier. Pressure rating of 10 bar (145 psi) and an airflow of 270 liters per minute (9.5 cubic feet per minute), combined with aftercooler and humidity filter.
Open the manholes where the fiber cable is to be installed and where the fiber cable will exit at the other end. Confirm that no unauthorized personnel are in your work area and that there are no personnel in the manhole where the fiber cable will exit.
6. Set up your machine
Check out our how-to videos on YouTube for setting up the machine you’ll be using.
7. Connect compressor and machine
Connect your compressor to the fiber blowing machine.
8. Clean duct
It is important to clean the conduit before installation. This is easily done with Jetting’s ‘Cleaning Plugs,’ which are inserted into the conduit. Attach the conduit to the fiber blowing machine and add air, which will push the cleaning plug through the conduit. Sometimes there is water in the conduit, which will be pushed out at the other end along with the plugs. Make sure that no personnel are in the way when the plugs come out at the other end. You can see an example of this here (at 0:41 in the video).
9. Lubricate conduit
To minimize friction in the conduit during cable installation, the inside of the conduit is lubricated. This is easily done by inserting a cleaning plug into the conduit, then filling it with Jetting Lubricate, and inserting another cleaning plug to create a ‘sandwich effect.’ Reattach the conduit to your machine and add air. Make sure that no personnel are in the way when the plugs come out at the other end. You can see an example of this here (at 1:13 in the video).
10. You're now ready for installation!
Now you’re ready to install your optical fiber cable. If you want to learn more about Jetting’s machines or want to know which machine is best suited for your project, contact your nearestJetting distributor.
11. Service
To ensure that your fiber blowing machine lasts for many years, it’s important to maintain it regularly. The best way to do this is by letting a Jetting Service Center take care of your machine.